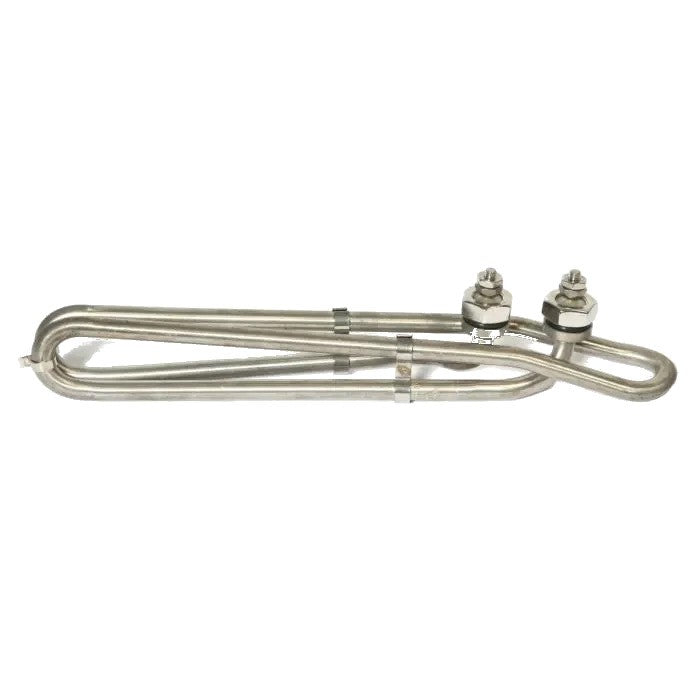
If your spa or hot tub heater stops working, it's often due to a failed heating element. While this repair can be challenging, especially with certain heater models, it's possible to replace the element in heaters with nut and bolt connections. Here's a step-by-step guide:
1. Preparation:
- Turn off power at the circuit breaker.
- Close valves to isolate the heater or drain the spa if necessary.
2. Inspection:
- Check the heater canister for damage like corrosion, rust, or warping.
- Replace the entire heating assembly if significant damage is found.
3. Unthread Unions:
- Remove unions connecting the heater to plumbing, allowing water to drain.
4. Inspect Gaskets:
- Check and replace gaskets that seal the heater to plumbing if damaged.
5. Disconnect Electrical Connections:
- Remove electrical connections from the heating element, taking care not to damage them.
6. Loosen Element Posts:
- Loosen the 3/8” Hex Nut securing electrical wires or copper straps to the element posts.
7. Remove Element:
- Unscrew the ¾” Nut securing the element to the canister and carefully remove the element.
8. Prepare New Element:
- Lubricate new o-rings lightly and insert the new element into the canister.
9. Secure New Element:
- Install and tighten the nuts to secure the new element to the canister.
10. Reconnect Electrical Connections:
- Attach copper straps or wires to the element posts, ensuring they are secure.
11. Check Position and Sealing:
- Ensure the element is not touching the canister's sides and check for proper sealing.
12. Reinstall Gaskets and Unions:
- Lightly lubricate new union gaskets and reinstall them, avoiding overtightening.
13. Fill and Test:
- Fill the spa, check for leaks, and proceed with normal startup operations.
By following these steps carefully, you can replace a spa and hot tub heater heating element and ensure your spa functions efficiently.

